Our underwater cameras

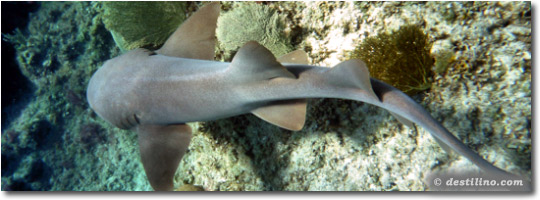
An impressive nurse sharks in the warm waters of the Turks and Caicos Islands
Naturally, our first underwater photographs were taken with disposable cameras that can be found almost everywhere. It was rather difficult to properly frame the picture. It was more trial and error, and as they were not digital, it was impossible to have the results BEFORE we return home.
With the new digital age, the result is far better especially as technology continues to improve and the screens are becoming larger, which makes it much easier to take underwater photos (better framing).
I use Corel Paint Shop Pro for editing our underwater photos. The result is often stunning. The trick: a shallow water and calm seas! When there are no clouds and the sea is rough, the sun causes unwanted reflections and therefore, pictures cannot be corrected.
You have probably noticed that the pictures taken underwater are always in a blue-green tone. The short wavelengths, like red, struggle to enter the water. The deeper in the water, the redder is missing in the photos. Our eyes are able to compensate for the lack of red.
For this reason, we always adjust the photos to appear like what we saw underwater and not blue-green like the camera.
Here are the steps to follow ...
Good luck!
Cameras with housing
 Olympus C-5050Z
 Sanyo x-Acti C4
 Canon P. A610
Cameras without housing
Pentax |
Panasonic |
Olympus |
Correction with PSP

|

|

|

|

|

|